Silverface Deluxe Reverb was my first "Amp Detailing" project.
My friend wanted the best!
Here's the circuit board.
It has the original big blue coupling caps and white Mallory cathode bypass caps.
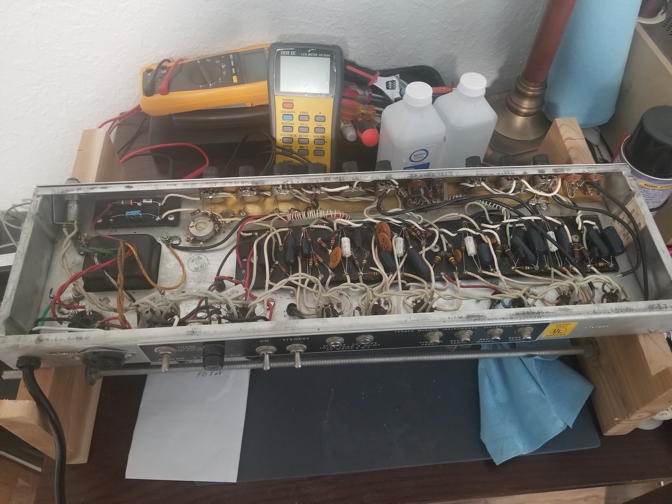
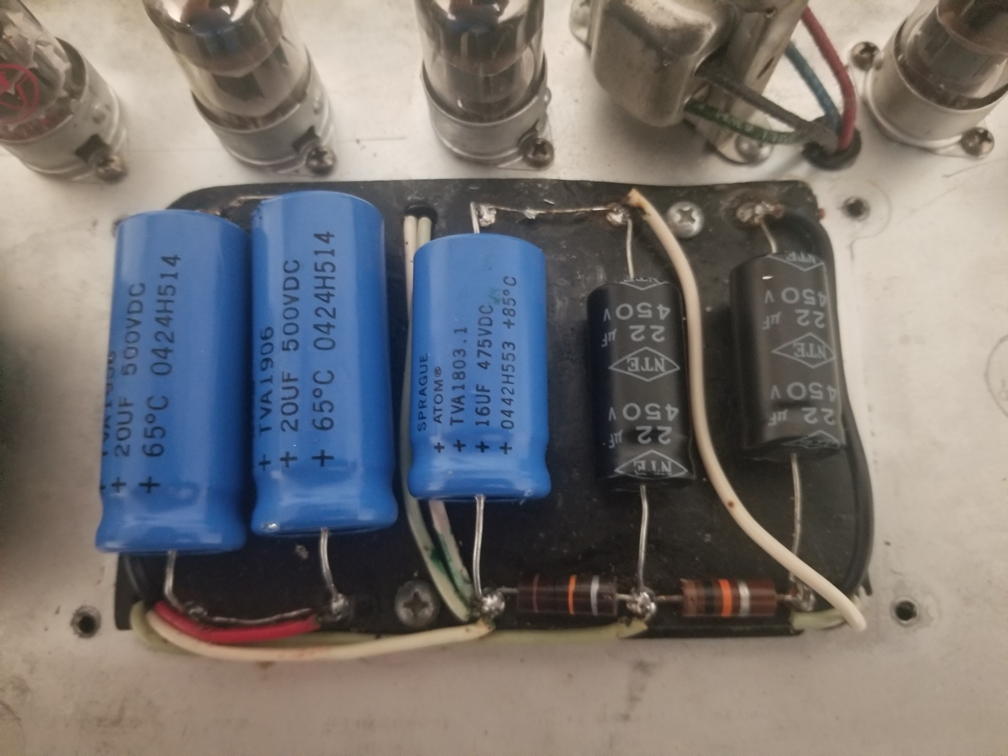
The power supply caps were reasonably new, but the leads were wrapped around the connecting wires.
The 2.2K resistor was changed to the original 10K. That was a high-headroom clean mod.
This shows the new wiring into the eyelets.
Clip retainers were added to all three octal tubes.
They hold the tubes securely and prevent movement, which loosens the clips in the sockets.

The reverb driver had a sole 860 ohm resistor, which was replaced with the light blue cap and 2.2K resistor.
This was an upgrade Fender made on Silverface reverb amps, which sounds better and is better for the 12AX7 tube.

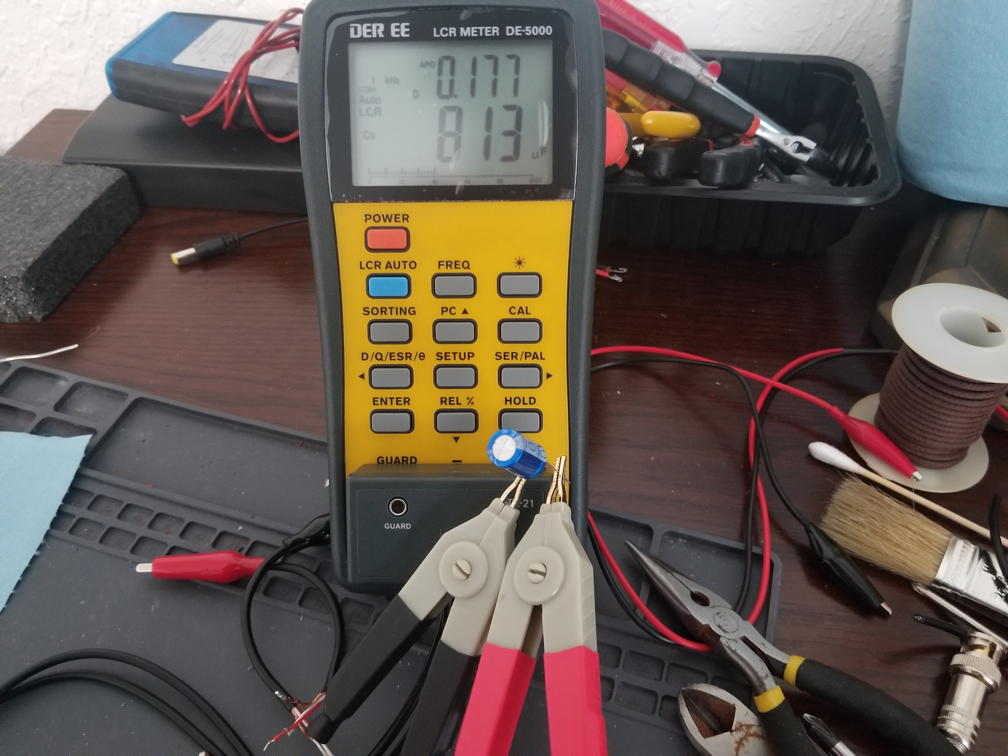
All of the original white cathode caps tested fine and were left in the amp.
Most techs replace all of them, but these give the amp that amazing Silverface tone.
A good heat gun is essential for removing gunk from the circuit board.
DC leakage was minimal, but that wasn't good enough.

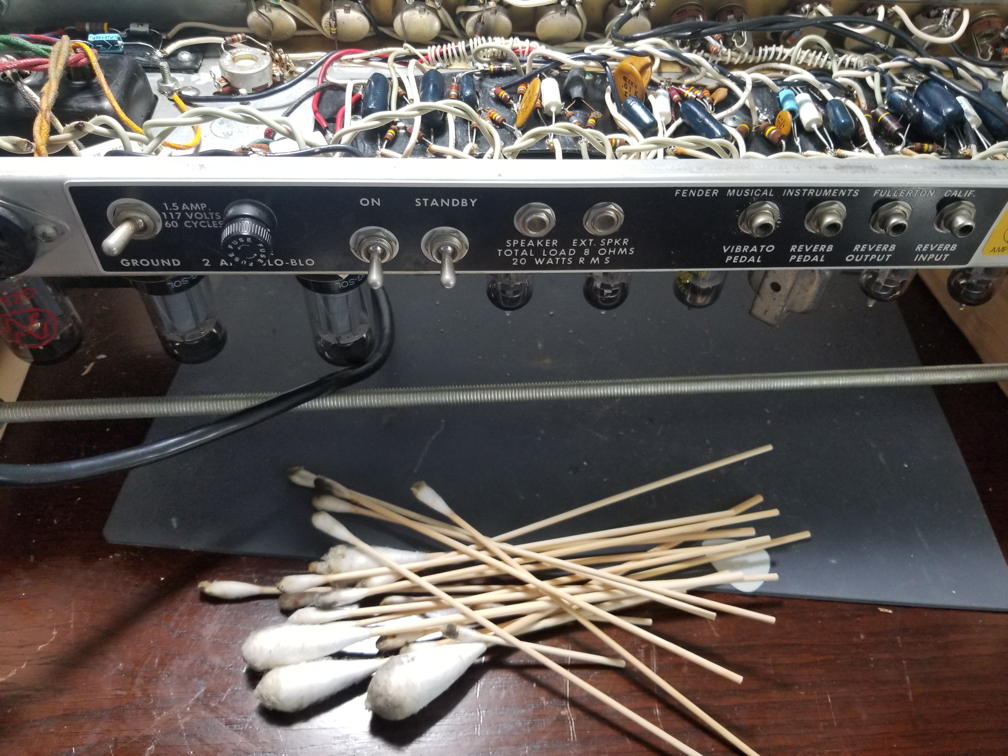
Many Q-tips were used to clean both the circuit board and the chassis.

Regluing the tolex on the back panel. One edge of the label on the other side was also reglued.

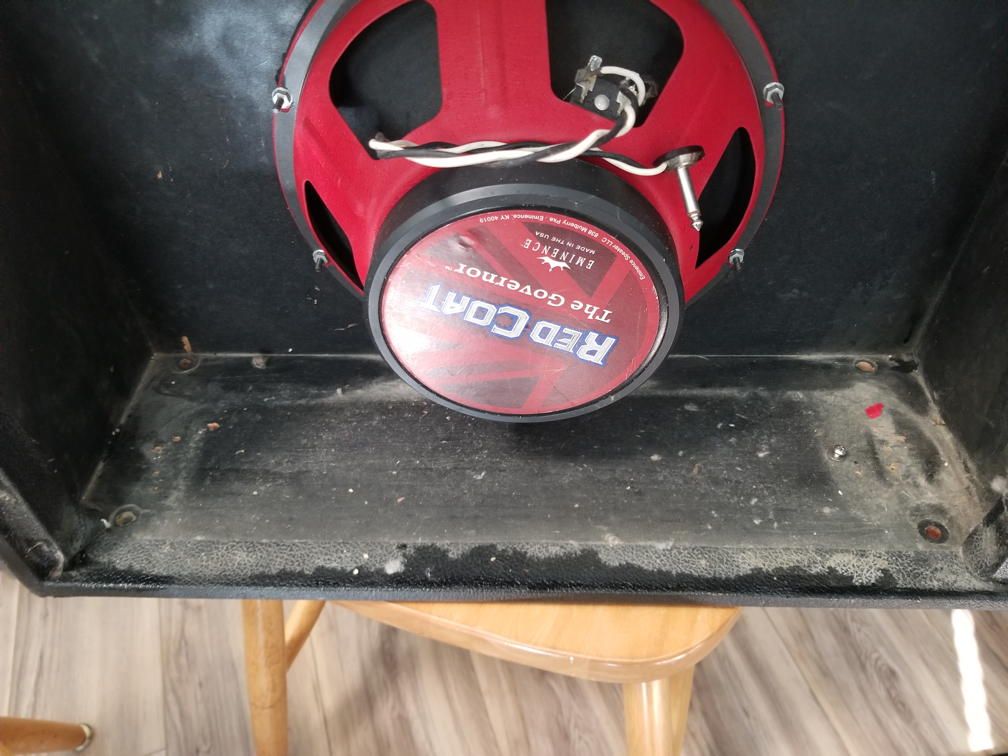
Detailing involves a thorough cleaning, both inside and out.
It's probably the first bath in 40 years!
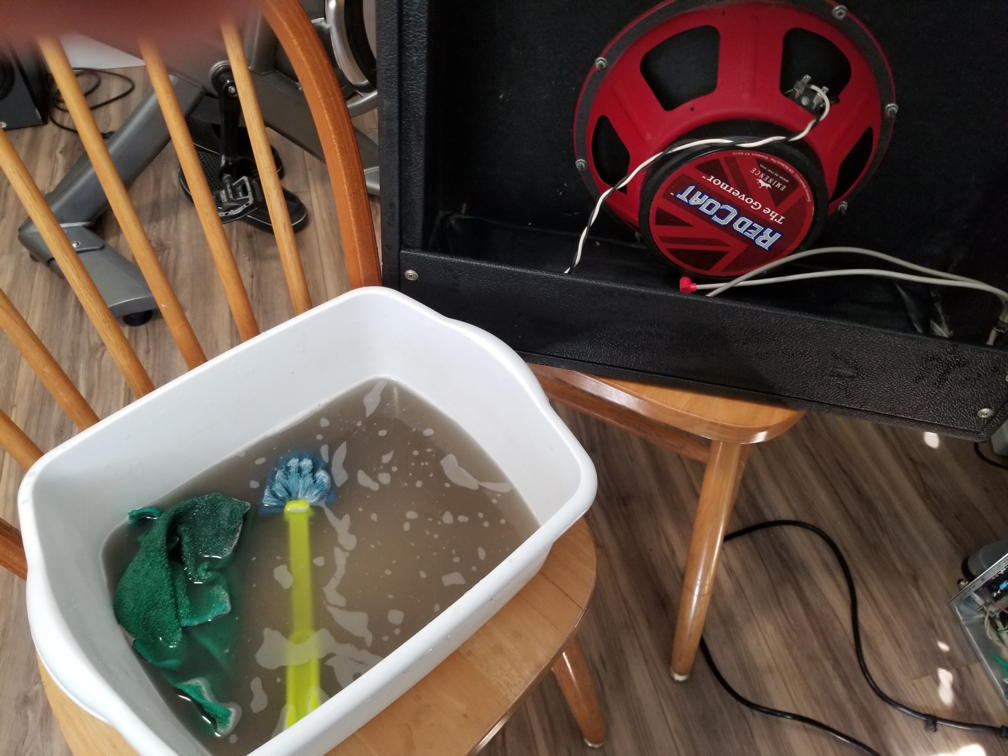
Even under the reverb tank!
These are the input jack nuts and washers, which were cleaned in an ultrasonic bath.
They ground the inputs to the chassis and any gunk causes popping sounds when you plug in the guitar.
